Gingham Nail Tutorial


Hello everyone! Today's tutorial is going to be about how to make gingham nails. I found this tutorial from The Beauty Department, and I thought they would be perfect for Memorial Day weekend and the official beginning of summer. 


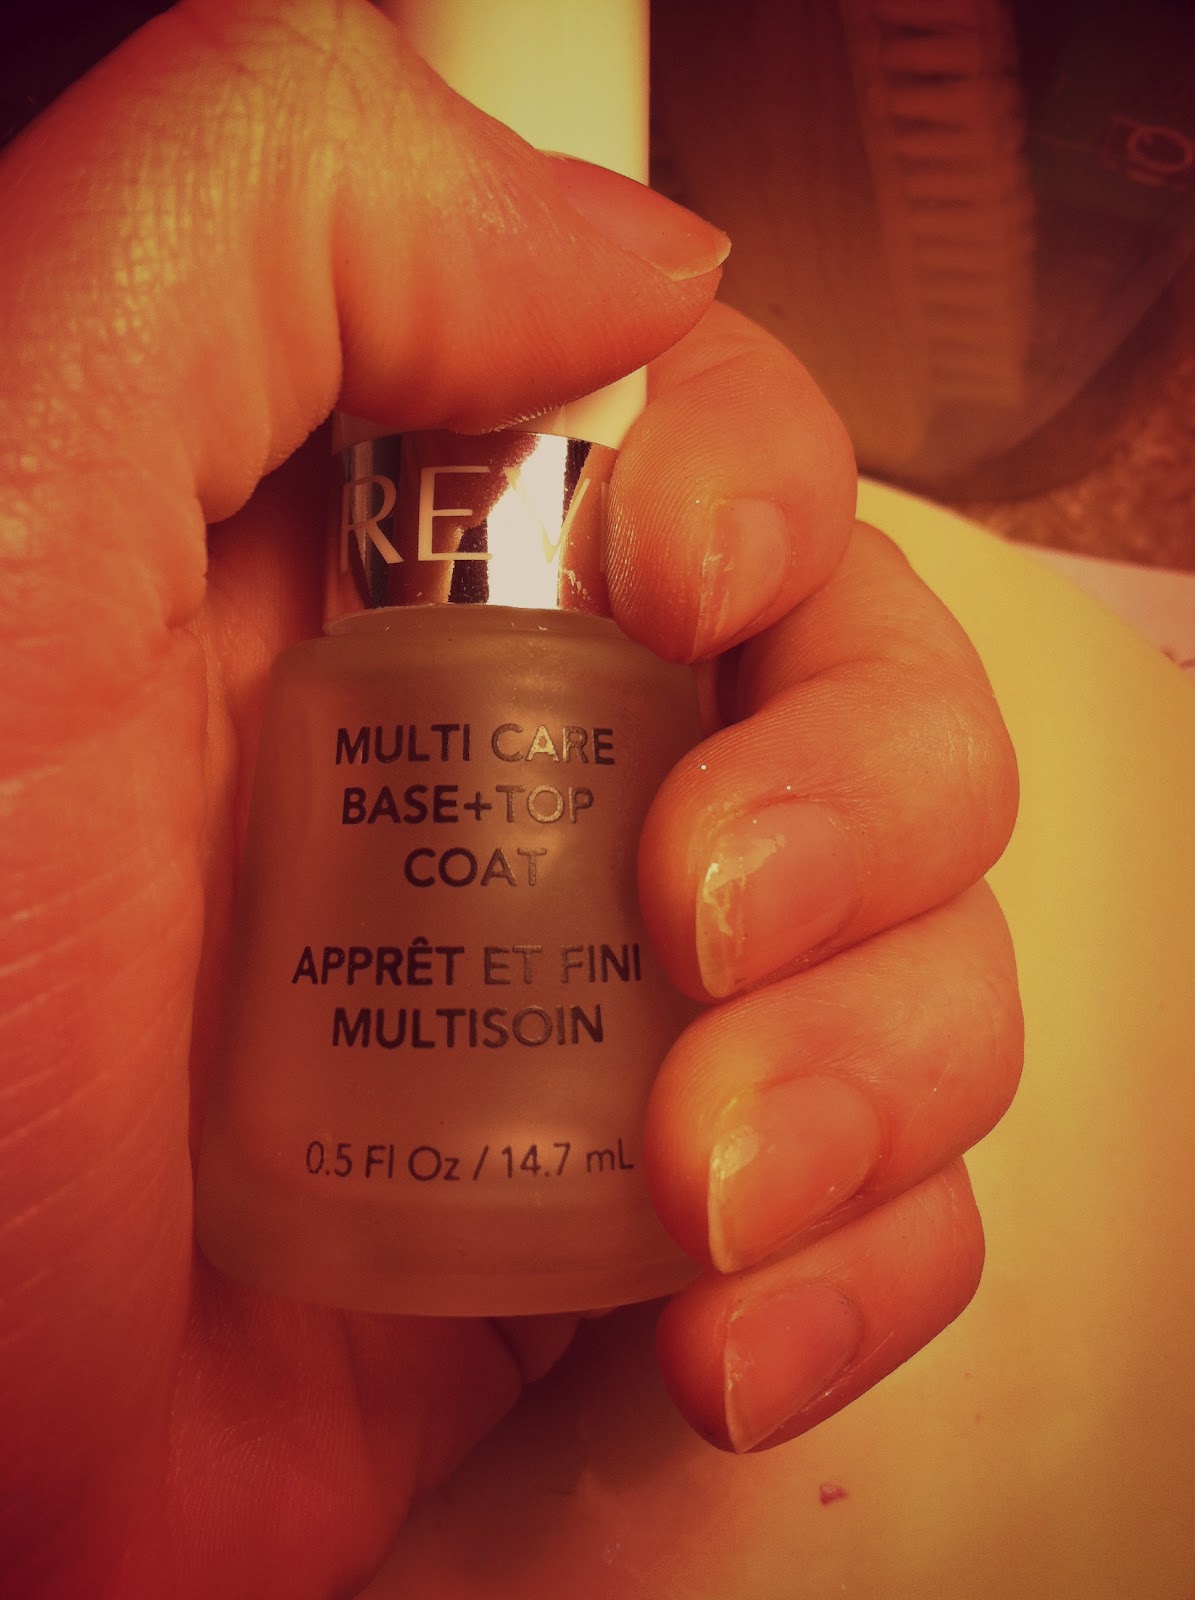
As always, start off with a base coat of clear. And yes, I still used Multi Care Base + Top Coat by Revlon.


Next, apply a solid white coat to all of your nails. Multiple coats may be necessary to completely cover the nails. I used Hard to Get by Sally Hansen: Hard as Nails.


Then paint some tape with the polish you would like to be the stripes. You can use whatever colour, but I chose Russian Navy by Opi. Try to make the polish as even as possible. Let dry then cut into small strips.


Place the strips on your nail perpendicular to each other. You can put as many as you see fit on each nail, depending on the nail size. I used 3x3 for my thumbs, 2x2 for my index and middle finger, and 3x2 for my ring and pinky finger. 


Trim the excess tape off your finger. You can use scissors or nail clippers, but I used nail clippers.


Finish these nails off with a top coat and you should be good to go. Thanks for reading!

Rainbow Cupcake Tutorial


At long last, here is the rainbow cupcake tutorial. I know, I know, I said it would be a cake tutorial. But, I decided to go with cupcakes, because I was taking them to a party and I figured that cupcakes would be much more party-friendly. It was a little more complicated then making just a plain cake, but I was pleased with the results. Now, enough talking, here's the tutorial.


I just used Pillsbury Moist Supreme Classic White cake mix. I did use the whole egg recipe on the box, because I am no good at separating eggs. Maybe if I had used the egg whites recipe the colours might have been a little more vibrant, but I was happy with how it turned out. So for the first step, just make the cake like you normally would, according to the directions on the back of the box.


Next, separate the batter into however many portions you want. Dye each one a different colour. I made purple, turquoise, lime green and orange from McCormick Neon food coloring.


And then comes the fun part. Now you really can just drop spoonfuls of each colour of batter in where ever you please, but I had a system so that every cupcake got roughly an even amount of each colour. To do this,  I had to do some math first. Since I had four colours and 24 cupcakes to be made, (that I wanted to all be unique) I started by scooping out six spoonfuls into six different cups of the first colour, the second, and so on. Then I repeated this process four times, making sure I didn't put the same colour in on cup twice. But like I said, you really can dish out the batter any way you want.


After baking for the appropriate amount of time according to the mix, my cupcakes turned out looking kinda like this. 


Here's just another look at them after I took them out of the pan.


And then the best part... when you eat them, not only are they really yummy, they look super cool on the inside! Whoohoo! Well that's about it for today, lovelies. I'll talk to you again soon! :)

Ps- for more frequent updates about the blog and the daily life of PrincessLexiLou, follow me on Twitter!

Rainbow Glitter Nails Tutorial


Hello everyone! Here is the nail tutorial, as promised. However, it is not the stripes one I tweeted about Friday, but something flashier and more summer-y. So without further ado, here is my first nail tutorial!


First, paint your nails with a protective clear coat. I use Revlon Multi-Care Base + Top Coat.


Then, paint each of your nails a different colour, arranged according to the rainbow. I used (from left to right): Elephantastic Pink by Opi, Cloud 9 by Sinful Colors Professional , some neon yellow from Claire's (no name), Sally Hansen Hard as Nails (again, no discernible name), and BCC 569 by L.A. Colors Color Craze (I'm just assuming that's what it's called seeing that there is nothing else on the bottle stating otherwise).


Next, coat all of the nails in a light dusting of glitter polish. I used Beware by Pure Ice.


Finally, paint all of the nails with clear to make them shiny and prevent chipping. I used the same clear as I did for the base coat here.

And, viola! A fun, colourful manicure just in time for the start of summer!


On a side note, due to an excessive amount of studying that has been going on all weekend, the rainbow cupcake tutorial has been postponed to tomorrow. Thanks for you patience.