Hello everyone! Today's tutorial is going to be about how to make gingham nails. I found this tutorial from The Beauty Department, and I thought they would be perfect for Memorial Day weekend and the official beginning of summer.
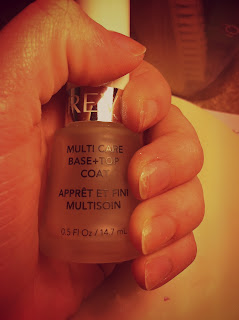
As always, start off with a base coat of clear. And yes, I still used Multi Care Base + Top Coat by Revlon.
Next, apply a solid white coat to all of your nails. Multiple coats may be necessary to completely cover the nails. I used Hard to Get by Sally Hansen: Hard as Nails.
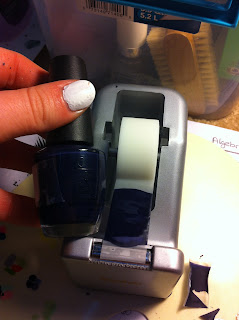
Then paint some tape with the polish you would like to be the stripes. You can use whatever colour, but I chose Russian Navy by Opi. Try to make the polish as even as possible. Let dry then cut into small strips.
Place the strips on your nail perpendicular to each other. You can put as many as you see fit on each nail, depending on the nail size. I used 3x3 for my thumbs, 2x2 for my index and middle finger, and 3x2 for my ring and pinky finger.
Trim the excess tape off your finger. You can use scissors or nail clippers, but I used nail clippers.
Finish these nails off with a top coat and you should be good to go. Thanks for reading!


0 princesses are talking about this:
Post a Comment